


17 Jun Learn How We Increased Our Email Subscribers by 1190% with Bloom
Hey guys, I have wanted to create this post for a while now, I purchased bloom sometime in May in which I knew it would increase our subscribers list. Prior to using Bloom we used WP Subscribe Pro, which is great starting off but if you are serious about growing your list I would recommend Bloom or others like it. What to expect, I will try my best to go through step by step the exact process I used.
A bit about this Plugin?
Bloom is a premium opt-in plugin with a vast amount of functions and features that I have personally yet to check out. With this plugin, you get automatic popups and flyins that allow you to activate triggers when a user scroll to the bottom of the page, time delay, after purchasing, inactivity and more. Here at 85ideas we currently use Mailchimp but Bloom as support for most the popular email marketing systems such as Aweber, iContant, Getresponse, Infusionsoft and many others.
In terms of design, this plugin makes it super easy to create a professional opt-in form. Everything is broken down in a step by step ease to digest manner. Bloom pre-populates the opt-in form with example images and text that makes editing it a breeze to edit.
Other cool features include the ability to A/B test all your opt-in forms to optimize and track changes made. This is one of the features that attracted me to Bloom. But the most powerful feature to us is the ability to personalize the message display base on the post or category a visitors is on. We will have a look shortly to see how we put this feature to use for us which then resulted in an 1190% increase within a 30 days period.
Now that you have a rough idea of what this plugin is about let’s look at the steps we took to increase our conversations.
Step 1:
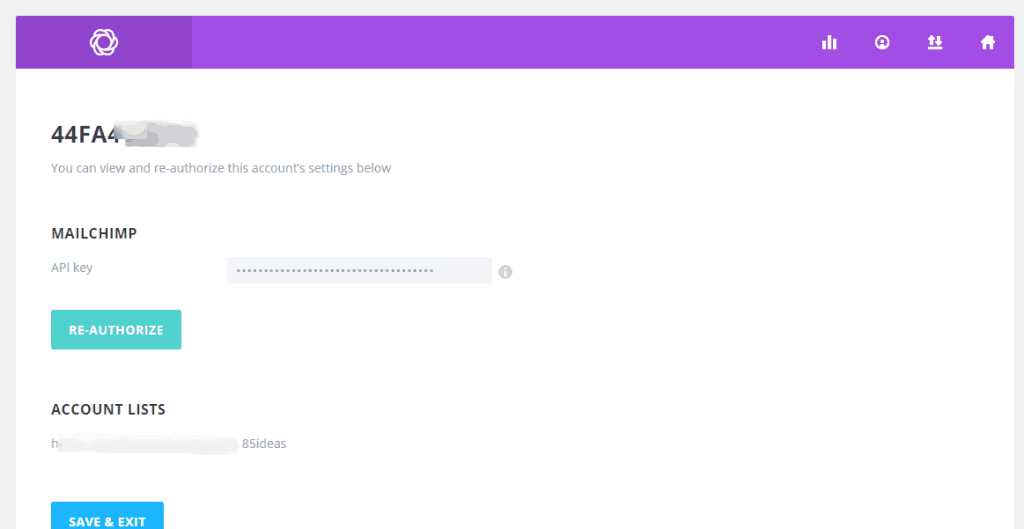
Link up your chosen email marketing system, in our case this is Mailchimp.
Step 2:
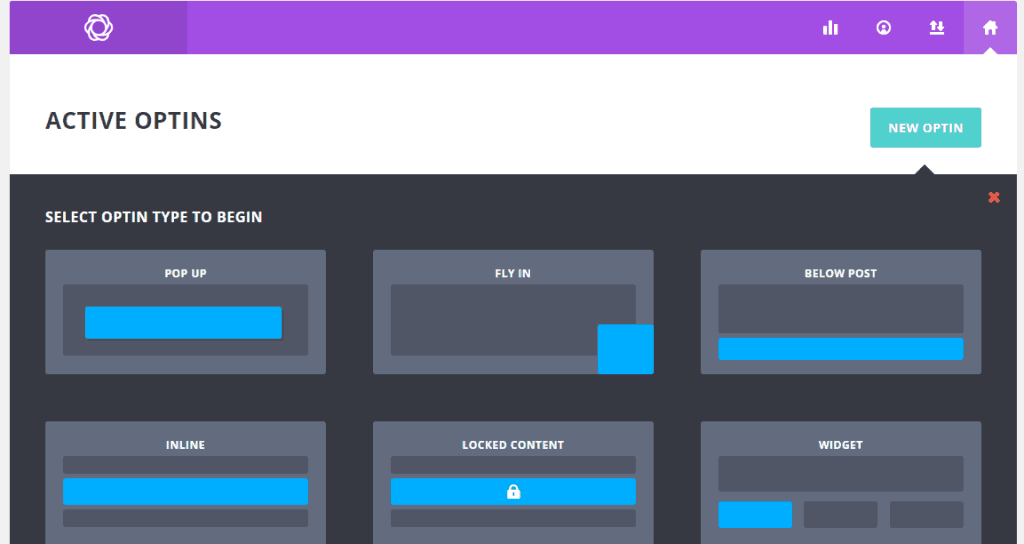
Create your first opt-in form, testing is essential here. If you have an audience who are sensitive to popups, then you might want to avoid that. We created a form for widget area, popup, flyins, and below the post area.
Step 3:
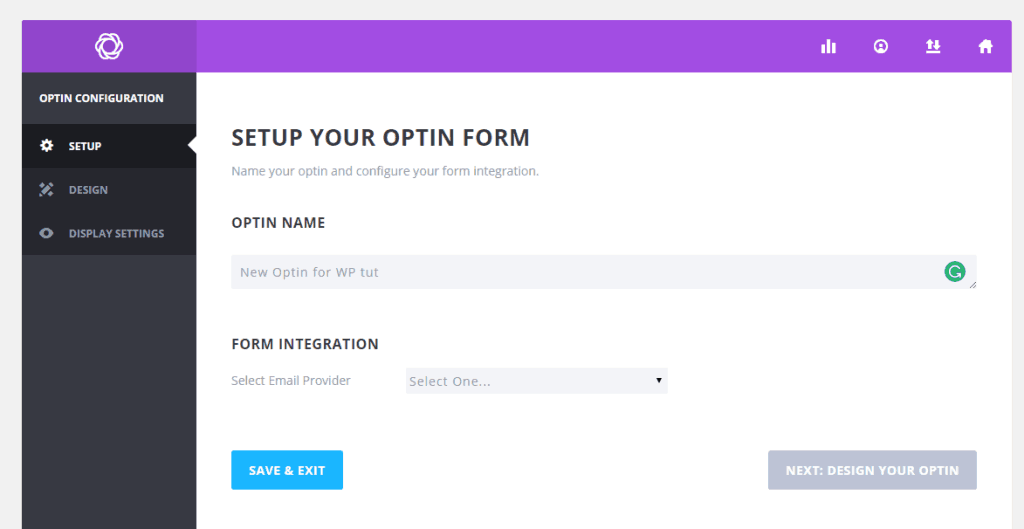
Name your new opt-in form to something that makes sense to you internally. This is where you select the email system you want to use for that particular form.
Step 4:
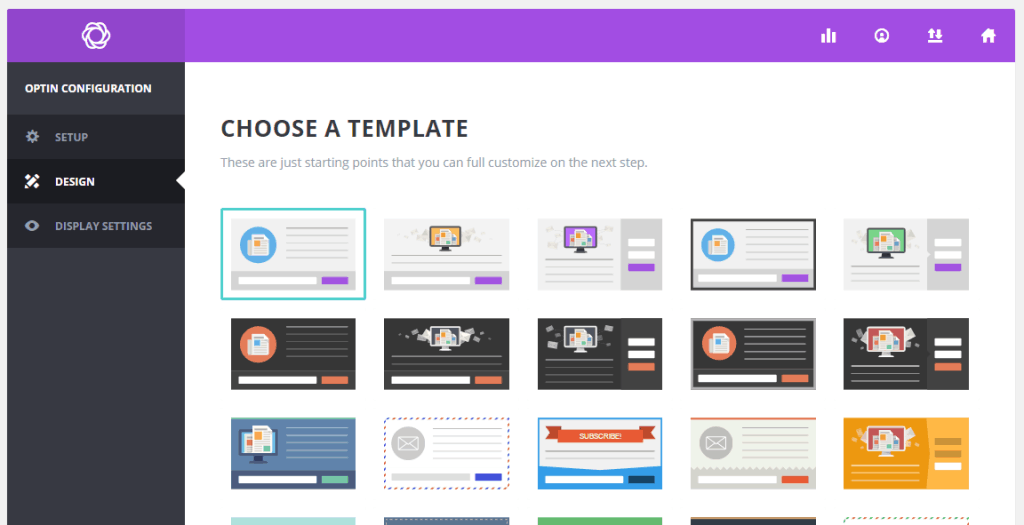
They all look fabulous ultimately it will be your copy text that will mostly decide whether someone decides to subscribe your mailing list or not. The key is to test things continuously; it’s never over, and there’s always room for further improvement. Before we move on I must mention that once you have chosen your design, it’s not possible to go back and edit the template layout. You are given a few options to further edits this is an area where I think Bloom could improve.
Step 5;
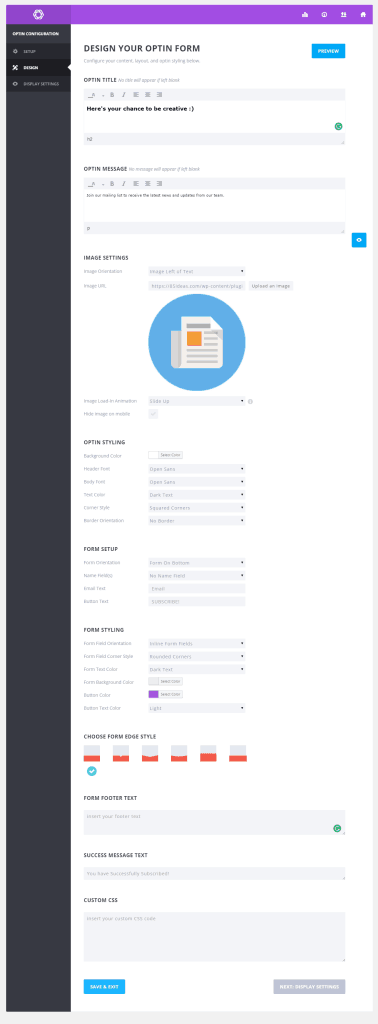
I can not tell you what to write in your copy text here, you know your audience best and know what they are searching for via Google Analytics. Through our site, you can see the style of language we use in our opt-in form. What I have noticed having a lead magnet helps tremendously in our cases we have created cheats on free tools we use day today and other short ebooks.
Step 6:
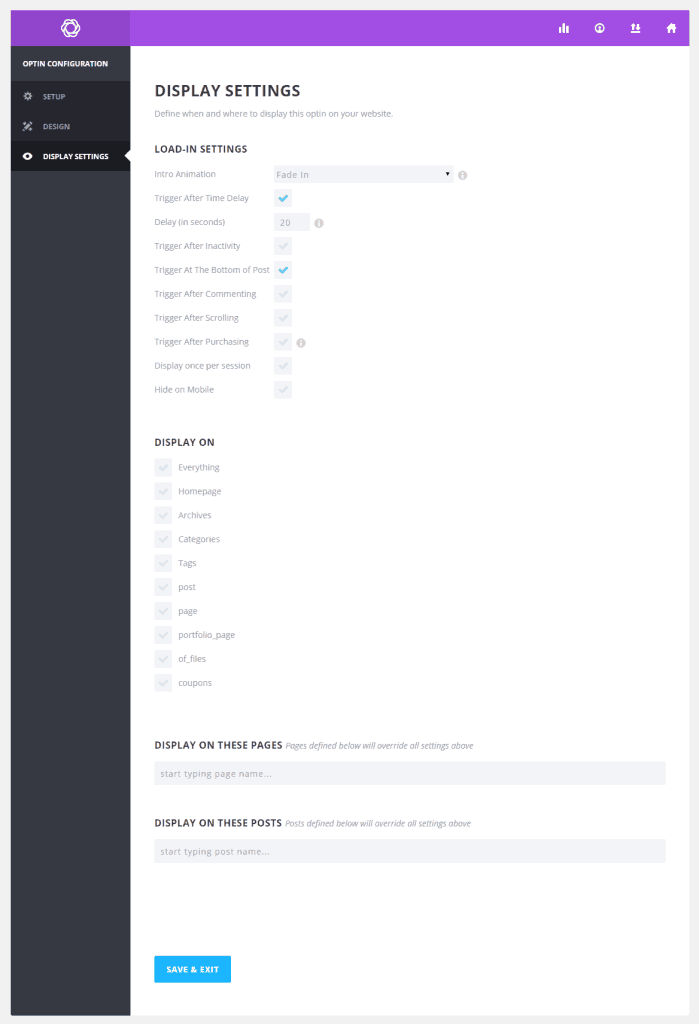
This is the part where you control the targeting of your opt-in form and can create a personalized message for your various type of users. A great tip for you here is to look at a few of your high traffic post and create a custom opt-in form speaking directly to those users. You should also create different option form for each of your categories address those readers. And then a general “subscribe to our newsletter” style article for every thin else in between.
Wrapping up
The big takeaway here is to create a lead magnet and a personalize opt-in message for your top post and category. Be sure to A/B test everything, which Bloom makes easy to do. We do a minimal A/B within the last 30 days because I want to set a good benchmark for every day of the month. This month I plan to A/B test everything, play with the designs and triggers. The final point I would like to mention is that if you hate popups then try the fly with works just as well but is slightly less intrusive. Another neat feature of Bloom I like is the detail stats report that shows your high converting page and much more.
*last updated 03/12/2019
No Comments