

15 Jan How to Install and Configure WordPress SEO by Yoast
WordPress SEO Plugin by Yoast (or Yoast SEO) is one of the most used WordPress plugins for SEO purposes.
Until now, it has been downloaded 24,600,000+ times! and active installs are above 1+ million.
No doubt, Yoast SEO is the favorite of many of us. It is so essential that 85Ideas uses Yoast SEO for much of the site’s SEO efforts.
In today’s article, we will go through a guide in which we will install and setup this incredibly popular and most used WordPress SEO plugin.
Before, we move on to the actual guide, it is a good idea to list some of the key features of Yoast SEO plugin.
Features of Yoast SEO Plugin
- Do proper on-page SEO.
- Easily change the post title and meta description
- Use focus keyword. The free version supports single keyword. Paid version supports multiple keywords.
- Generate XML sitemaps for easy search engine crawling.
- Google search result snippet previews for a better understanding of on-page SEO.
- Offers robots.txt and .htaccess editor.
- Configure header/RSS footer.
- Verify Yahoo Site Explorer, Bing Webmaster Tools, and Google Webmaster Tools.
And much more.
Without much ado, let’s get started with the guide.
Installing the Plugin
Installing the plugin is our first step. You can get started by going to the official WordPress page and downloading it to your desktop.
Once downloaded, go to the plugin >> Add New.
Once you reach there, click on “upload plugin” and then “choose File”. Press “Install Now” to complete the upload and install process.
At the time of install, the plugin size was only 1.9 MB and it won’t take a couple of seconds for a fast internet connection to download it.
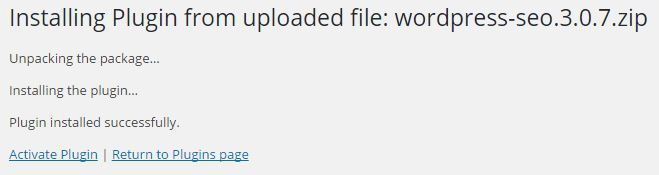
Click on “Activate Plugin” to activate the plugin.
The plugin is now ready to use.
Another alternative method is to install it from the dashboard. All you have to do is search for the plugin and install it.
Setting Up Yoast SEO plugin for WordPress
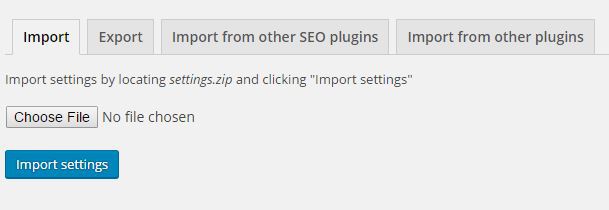
Import and Export
There are equal chances that you are using the plugin for the first time or have been using some other SEO plugin.
If you were using other SEO plugins such as All in One SEO or wpSEO, you might want to import settings that work for you in the first place. Also, the option is useful if you are importing from other Yoast plugins such as Yoast Breadcrumbs, RSS footers or Robots Meta.
Exporting and importing is easy. All you need to do is go to Yoast SEO > Tools > Import and Export.
Select the plugins from which you want to import.
Setting up the basics
Our next step is to take care of the general SEO settings. The general settings affect the site widely. So, it is always a good idea to go through the settings first.
First, go to the Yoast SEO > General.
Once, you are here, you can see tabs such as General, Your Info, Webmasters Tools, Security, OnPage.org.
In the general tab, you can easily restore default settings if something goes wrong.
The next place is the “Webmasters Tools”. This is the place where you can easily set the Alexa, Bing, Google Search Console and Yandex verification. Connecting to these tools will help you to monitor the rankings of your website and other vital information.
With the basics setup up, let’s move on to the next option.
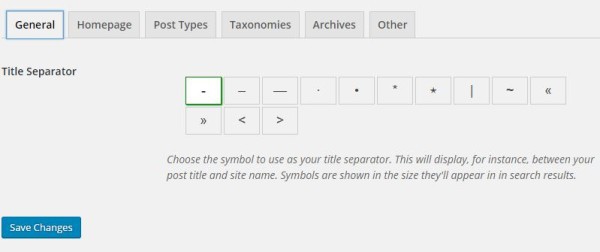
Titles and Meta
Titles and Meta are very important for any website. Good thing is that Yoast SEO offers a dedicated options panel for this option.
Starting up, you will be asked to choose a “title separator”. Title separator is used between the post title and the site name.
HomePage
The homepage sub-tab contains the Title template and meta description template. With the settings, you can easily change the settings and easily reflect them on the website.
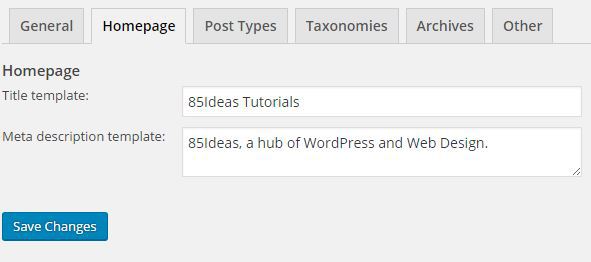
Note: Some themes might not let you change the title template and meta description. In this case, you might need to manually add the title template and meta description.
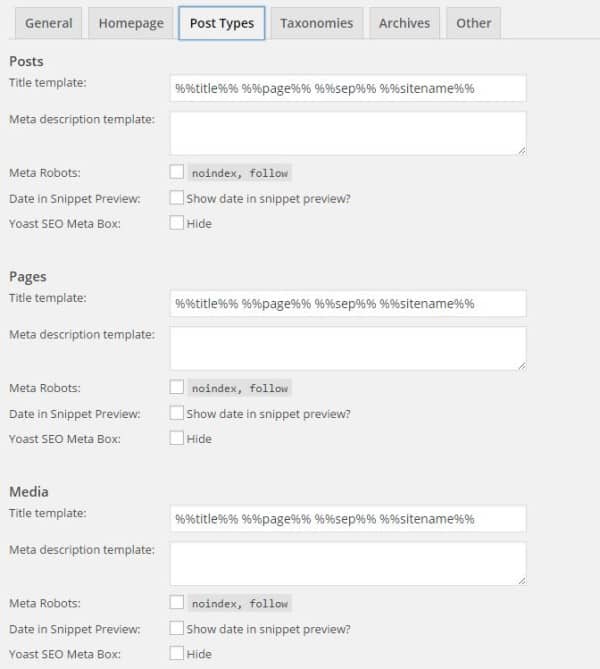
Post Types
Our next stop is “post types”. WordPress offers default post types, media or page types. In this option, you can easily set custom post type if needed.
The section is dedicated on the default settings for the SEO of pages, post and media.
In this section, you can also choose to show the date in the snippet. If you are running a blog that focuses on evergreen content, you might not want to turn it on. On the other hand, news related websites where the date is important should turn this option ON.
You can also choose to modify the behavior of meta robots. It is generally not recommended to turn this option on.
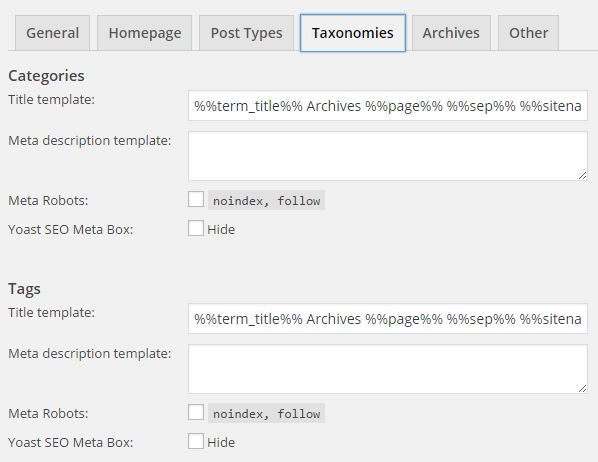
Taxonomies
Taxonomies tab is the place where you can handle the title and meta description for the categories, tags, and others.
You can choose to not index the categories, or tags, or even hide them from WordPress SEO meta box.
For first time users, it is a good idea to keep the settings as they are. Advanced users can enable meta robots “noindex, follow” with a simple checkbox click.
This will help you to control the Google indexing and prevent duplicate content.
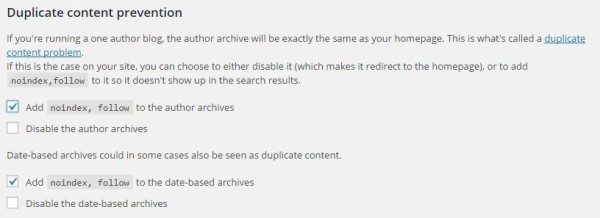
Archives
Archives tab holds similar settings to taxonomies but is related to the archives of the website. Similar to the above settings, you can add noindex or follow to author archives and do much more.
There is a section for preventing duplicate content and you should check the boxes for “Add noindex, follow” for both author and data-based archives.
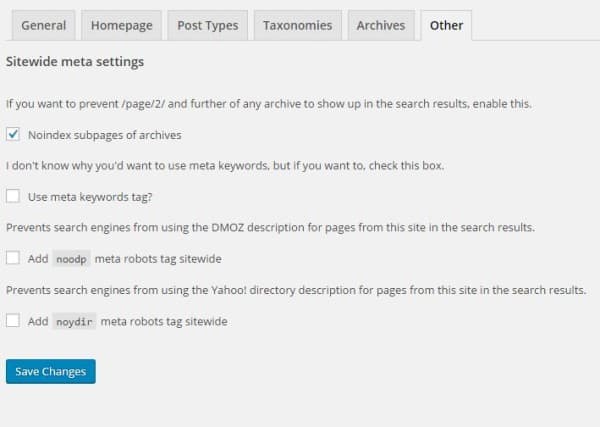
Other Settings
Other Settings holds options for sitewide meta settings.
You might want to activate the noindex subpages of archives. This will make sure that the subpages of archives are not indexed.
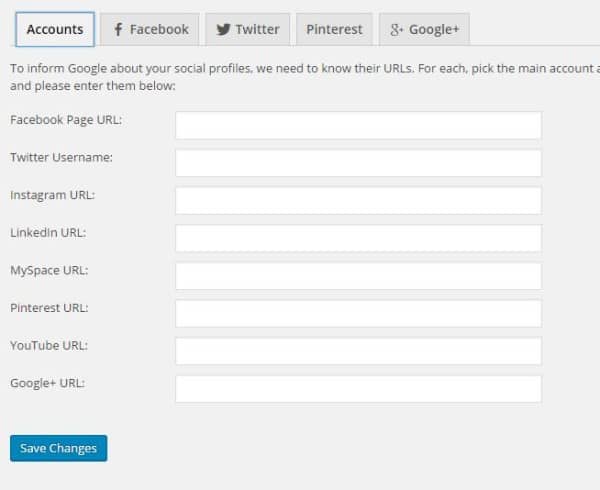
Social Yoast SEO Settings
Social settings are straight forward. The settings are primarily used to inform Google that the social profiles exist.
You need to enter the respective social sites URL. You can also configure Twitter meta card or Facebook open graph meta tags easily.
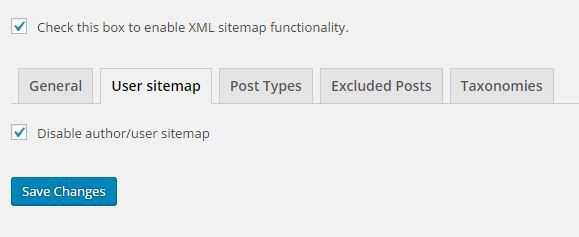
XML Sitemaps
XML Sitemaps are one of the most important parts of your website. Any search engine looks for sitemap for fast indexing.
Once you generate XML sitemap, you need to go forward and submit the sitemap manually to the search engines.
To enable XML sitemap, you need to click the checkbox to enable the sitemap.
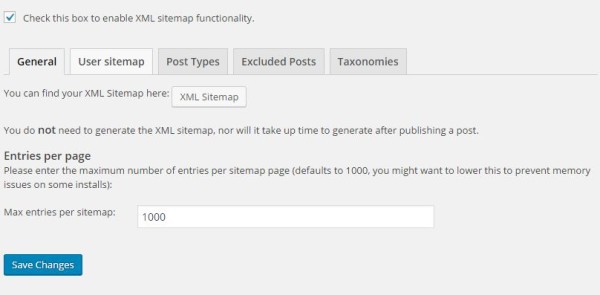
You can go to user sitemap tab and enable/disable author sitemap.
Other tabs take care of sitemap generation. Check them out to know. They are pretty straight forward.
Advanced
Advanced section of the Yoast SEO offers Breadcrumbs, permalinks, and RSS settings. We will go through each feature offered in the Advanced tab.
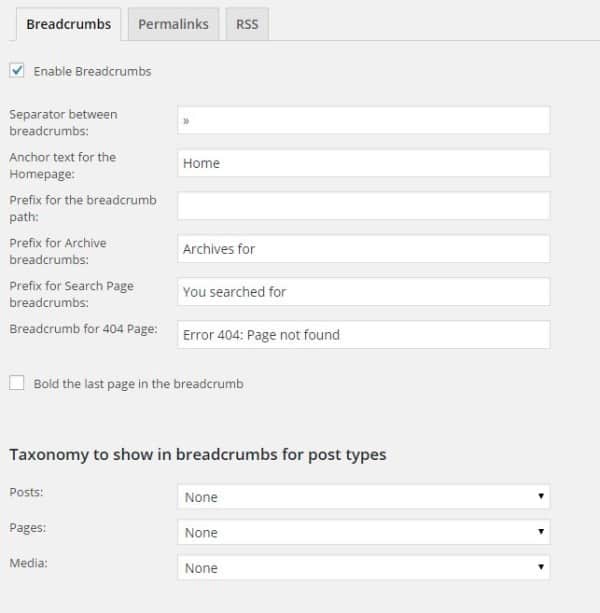
Breadcrumbs
Breadcrumbs is a structured way to list the path of the post/page. The breadcrumbs also make it easy for the search engine to index and understand the site structure.
You can just enable it and click save. Everything is handled by the plugin. You might need to enter a single line of code in your theme file.
Refer to the knowledge based article on Yoast.
Permalinks
Permalink is defined as the permanent URLs of the blog post/pages or other media types.
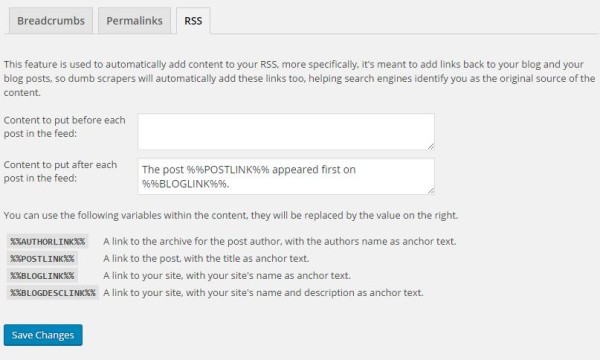
RSS
RSS can help advertisers to fetch data from the website/blog. In this section, you can easily add a link to the footer.
Tools
Tools tab offers four basic tools. They are as follows.
Bulk Editor
Bulk Editor is a handy tool to manage bulk SEO editing. This way you don’t have to go to each single post/page.
File Editor
File Editor helps you to edit important files, such as .htaccess and robot.tx.
Import and Export
Import and export settings are used to use previous settings and save your current settings.(already discussed above).
Recalculate SEO scores
In the latest SEO version, they added an option to recalculate SEO score. Use it to examine the change of SEO scores with new Google algorithm updates.
Search Console
Get all the Google search console information directly into the dashboard. To use it, you need to first authenticate the website using Google Authorization code.
Notes and Conclusion
I hope you found the guide useful for configuring the Yoast SEO plugin. It is always a good idea to go through the guide and make sure that you have configured the plugin correctly.
If you found the tutorial useful, don’t forget to use the comment section below. Also, share the article with your WordPress buddies so that they can also take advantage of this awesome WordPress SEO plugin.
No Comments