15 Feb How to Charge WooCommerce Shipping by Item
WooCommerce, as one of the top WordPress eCommerce plugins, has been providing an easy and reliable eCommerce service for local and large-sized international businesses. Regardless of one’s skills or coding knowledge, you can easily build and open an online store with the help of WooCommerce and its extensions.
For the basic users, WooCommerce core functionality without extra plugins is enough. Still, once you start diving deep into the eCommerce matter, you will notice that it lacks some of the handy features. Therefore, community developers and individuals decided to extend its core features by developing plugins or extensions to patch those “holes.”
For example, shipping is included in the core functionality of WooCommerce. However, it does not have all the advanced and extra options that you may feel you need. Because of that, the developers of JEM Products built a useful shipping plugin called WooCommerce Table Rate Shipping, which brought new options and extended the general core functionality of WooCommerce. This is especially useful for businesses dealing with complex shipping logistics, such as shipping from South Africa to the UK.
This article will see all the benefits of the WooCommerce Table Rate Shipping plugin but precisely focus on one of its features – shipping per item (charging based on the number of items).
Table of Contents
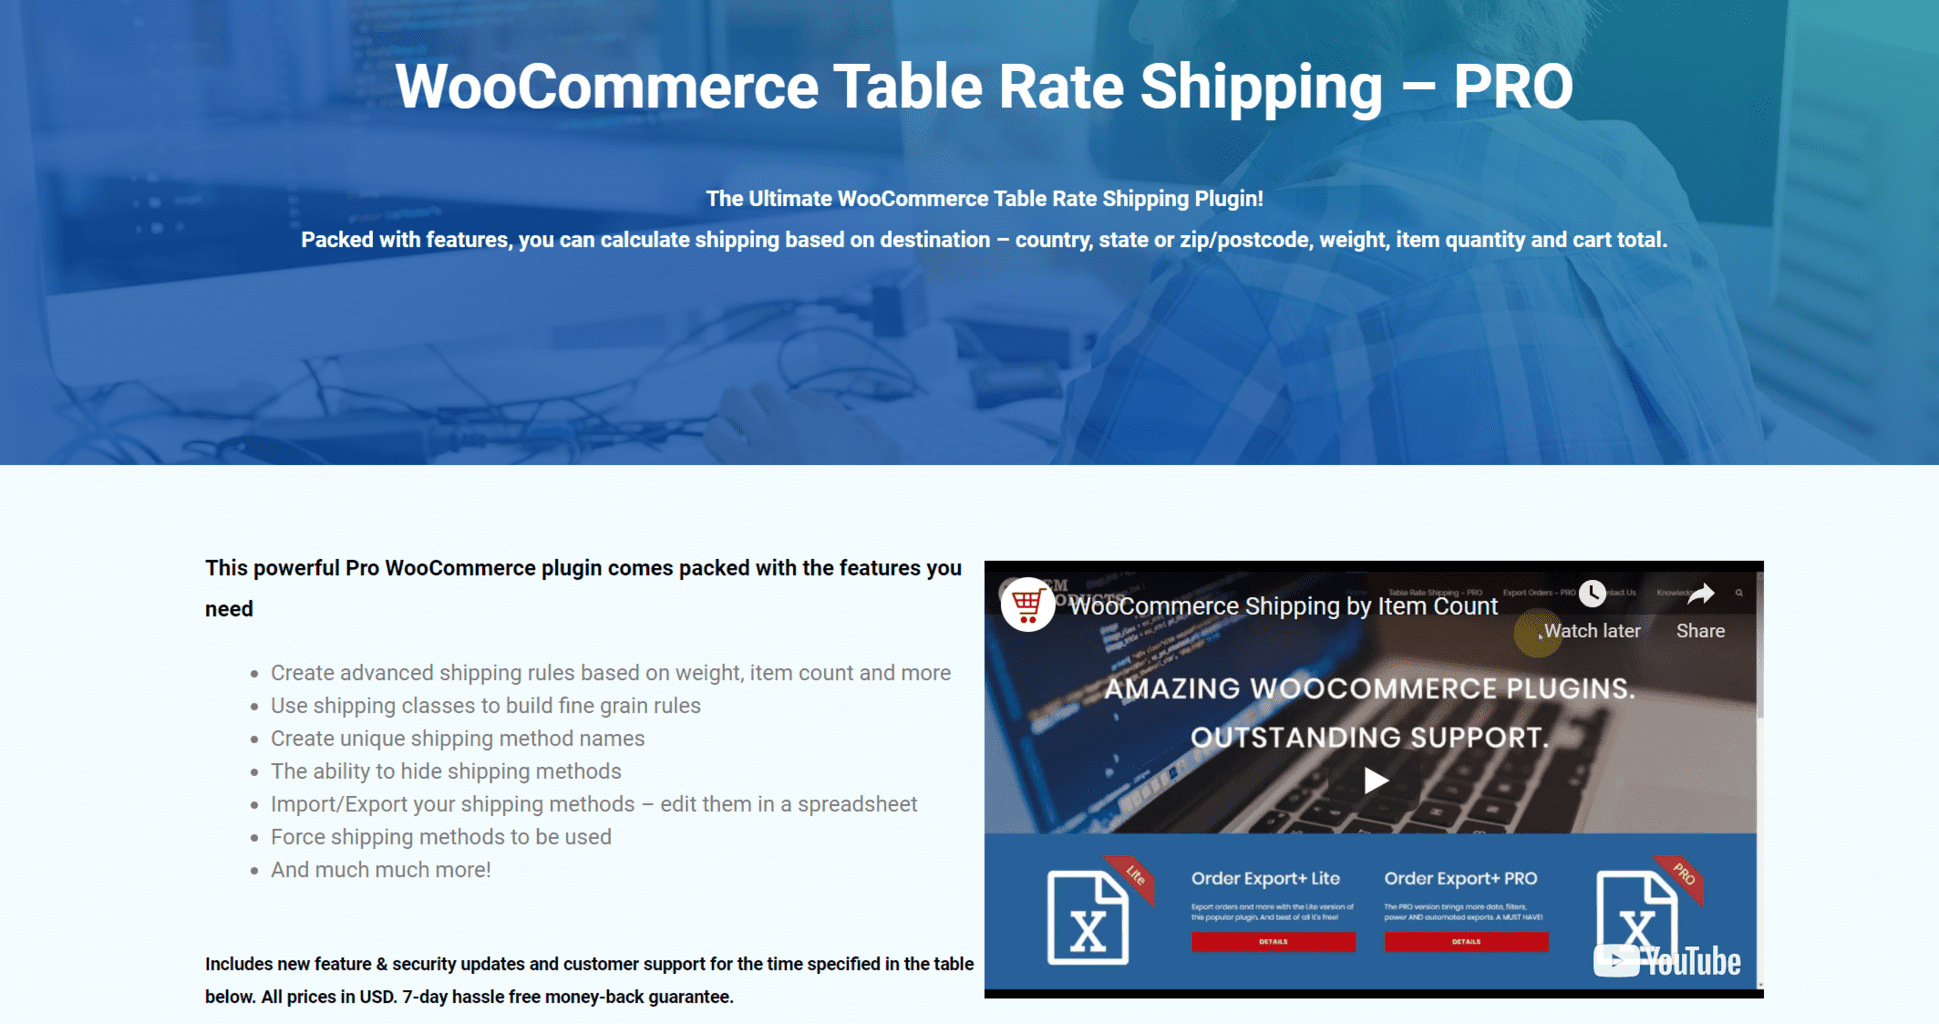
WooCommerce Table Rate Shipping – PRO
 WooCommerce Table Rate Shipping PRO works excellent as an extension to the core WooCommerce shipping functionality. Undoubtedly, WooCommerce has shipping functionality at its core, but it was not as a good fit for people as it should have been.
Its core shipping options were extended and improved by the WooCommerce Table Rate Shipping plugin, and clients got a lot of more powerful shipping possibilities such as:
- Calculate shipping based on its destination, country, state or zip/postcode, weight, item quantity, and cart total
- Use shipping classes to build fine-grain rules
- Create unique shipping method names
- Hide shipping methods
- Import/Export your shipping methods
Among all its features, we will focus on charging by item count (the number of items). Therefore, let’s take a look at the steps you need to take to charge per item in WooCommerce using our Table Rate Shipping plugin.
Step #1
You need to set up a shipping zone. Thus, head over to the settings of WooCommerce and select the “Shipping” tab on the top. Then, click on the button “Add shipping zone.”
When setting up a shipping zone, you need to give it a shipping name shipping region and add a shipping method. Under the shipping method dropdown menu, choose “Table Rate Pro.”
Step #2
Now, you have set it up (the basic part), but your shipping method has not yet been configured. You can see that under the shipping method, “Table Rate Pro” says it’s enabled, but we haven’t configured it yet. Therefore, click on the “Edit” button.
Step #3
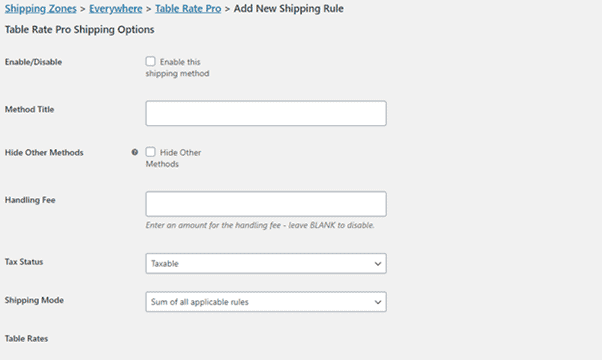
Once you are in the configure area of the shipping, you need to click the “Add new” shipping method. It will open up a new panel and give you some options you can define as follows.
 Enabling/disabling the shipping method, giving the shipping method a name, defining handling fees, and whether the shipping method is taxable or non-taxable. At the very bottom of the panel, you can see the table rates and an option to add a new or delete the already existing table rate.
Step #4
Click to add a new shipping rule, and it will ask you to populate the rule with some options and information.
 First, select whether the rule should be applied to a certain shipping class or not.
- Secondly, decide how to define the rule: by weight, total price, or item count. We will choose the third option since this article focuses on how charging WooCommerce per item works.
- Then, you need to tell the plugin how many items you want to define this rule for. You can define that by entering the min and max values. The min and max value range tells how many items you want to apply this rule. For example, if you set the min value to 0 and 100 for the max value, it simply means that this rule will be applied to any shipping with an item count between 1 and 100. Anything above 100 items will not be included in this rule, and the rule will not be applied to them.
- After setting the item range, you need to define the base charge price per order and item. For example, a client wants to buy two items of a product. If you set $5 to charge per each order and an additional $2 per item, it would mean that the client would need to pay 5 + (2 x 2) = $9 in total for the shipping.
- The last input field is used only if you set a rule to charge per weight. Since this article does not tackle that specifically, we don’t need to bother with that. Just leave it empty.
Step #5
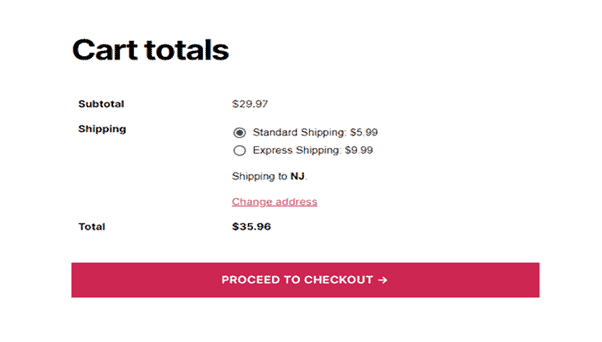
 Go to the checkout page and test it out. For example, we defined the base charge price per order as $3.99 and per item $1. If we add two items to the basket and proceed to the checkout, you will see the total cost of the shipping, which is $5.99. How does the plugin get this number? Well, we explained the formula: base price (3.99) + per item (1.00) x 2 = $5.99.
Conclusion
Running an online store or a shop was drastically eased by the WooCommerce plugins for WordPress. It enabled even the local and non-technical people who do not know to code manage online shops to sell their products online easily and efficiently successfully.
However, managing shipping can be painful, and WooCommerce does not provide enough options that you would probably need for your online shop. Therefore, looking for an alternative, extension, or plugin with more features is not something you need to care about.
WooCommerce Table Rate Shipping PRO provides an all-in-one shipping tool for your WooCommerce orders. You can define various shipping rules for managing how the WooCommerce orders shipping will be charged. The plugin can also be amazing to use in conjunction with other JEM plugins. So, if you would like to have a nice overview of your orders and export data, check out another WordPress plugin called WooCommerce Order Export.


No Comments