

01 Jun How to Print Screen on Mac
Using Mac as your basic system is rewarding in many ways and if you are looking for one of the simplest ways on How to Print Screen Mac, then you have landed on the right place. There are many users who have found themselves struggling with the basic functionalities of Mac System
One of them being taking print screen on the Mac. And the problem becomes tenfold if you are transiting from a Windows platform to the MAC. Windows platform keyboard comes with special keys to capture the screen aka the print screen button. We all are accustomed on how easy is to capture screens and use them in our projects, share with friends and more importantly have the ability to capture images that matter to us.
With Mac, things change slightly. Yes, Mac do have the capacity of capturing the screen, but in a slightly complex way. The more, I emphasize on complexity, the more I am telling you that taking print screen is slightly not simple compared to taking print screens on Windows platforms.
So, why the wait? Let’s start our tutorial of how to print screen Mac.
Table of Contents
How to Print Screen Mac
Print screen is one of the fundamental task anyone does when they use either a PC or an MAC. Today, our focus will on MAC systems and we will uncover 3 different ways to take a simple print screen on MAC(all of them giving different results to the user, so stick with us and learn how to take screenshots on MAC)
The First Method
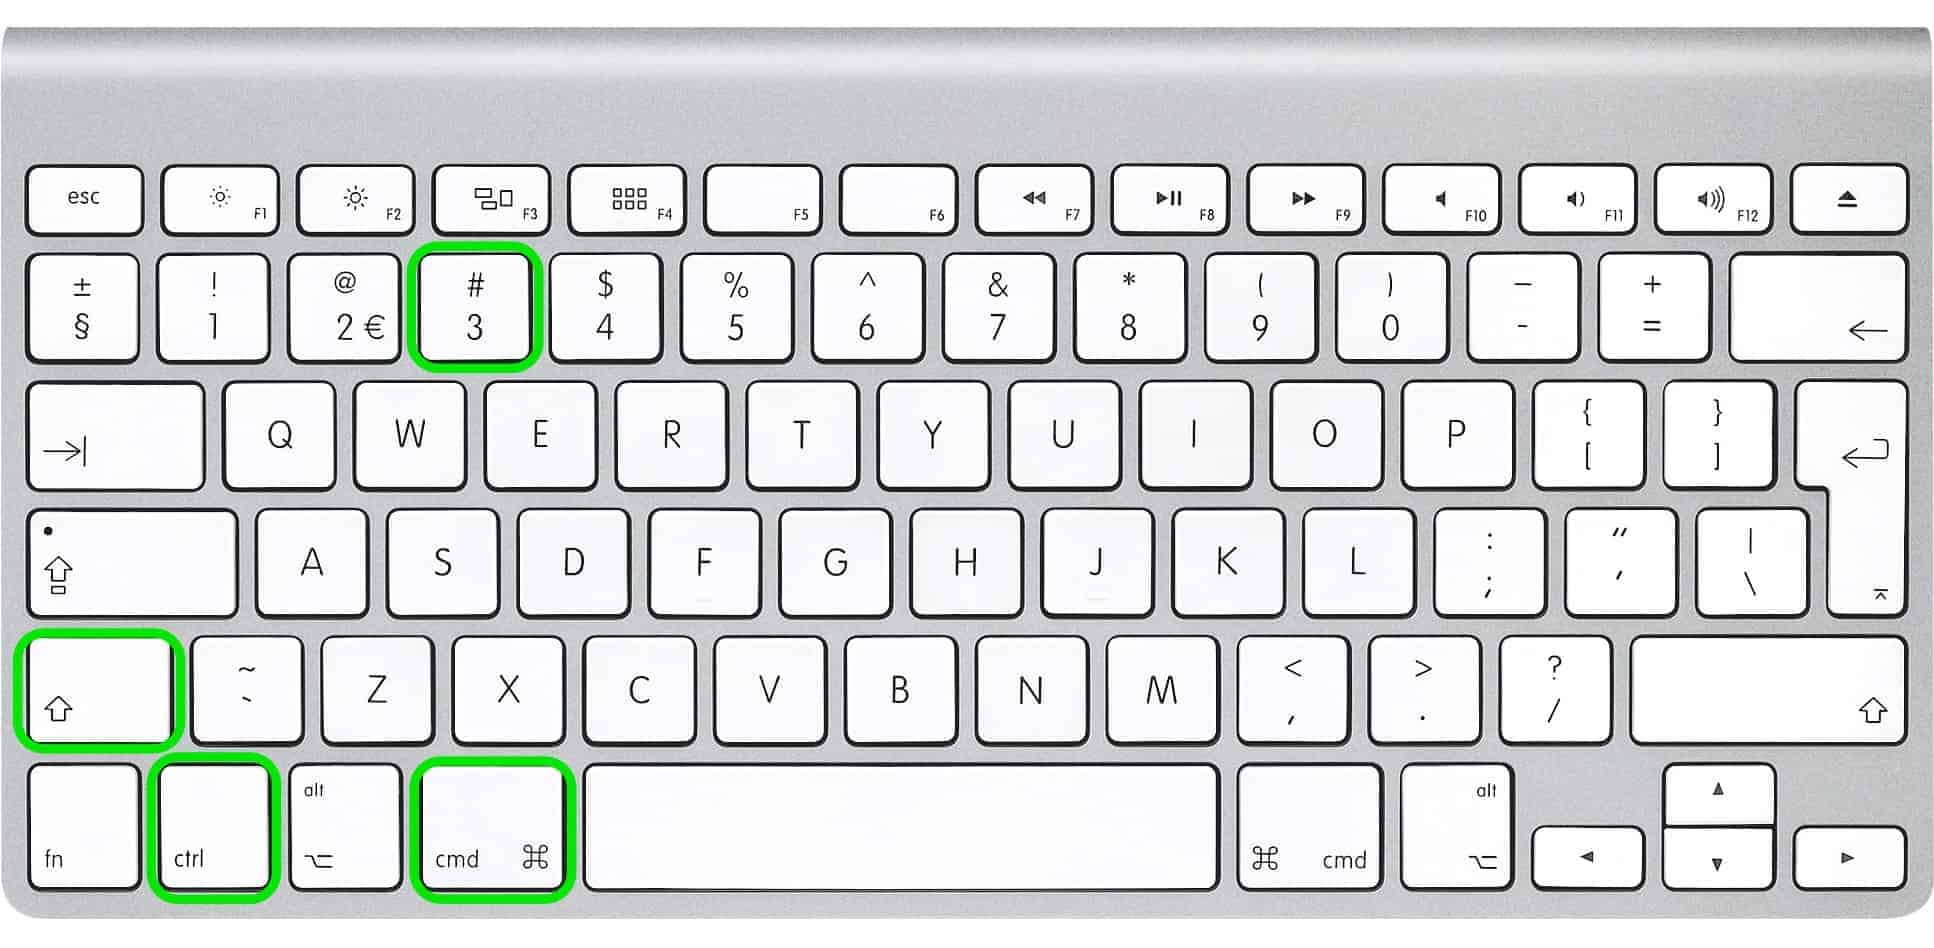
The simplest way of capturing the screen and copying it to the clipboard is pressing four simple buttons at the same time.
Command ⌘ + Control + Shift + 3
I know that pressing four buttons at the same time can be a tough job, but with practice this will become easy to do and remember.
An alternative way to capture the whole screen and save it to the desktop is to press three buttons at the same time.
Command ⌘ + Shift + 3
The Second Method
Capturing screenshot is great, but not everyone requires to capture the whole screenshot every time. For more precise control, we might need to capture the active window or a small part of the window for showcasing important information to a client or a peer.

To overcome this, Mac provides another set of key combination that helps you to selected screen area.
- The key combination this time is Command ⌘ + Control + Shift + 4. If you are using an older MAC, then you need to use different key combination of Apple key ⌘+ Control + Shift + 4
- Always remember that you need to press the keys at the same time. If you fail to press all the keys at the same time, the key combination will not result into what is intended.
- Once, you press the four key combinations as above, you will see a “+” on your screen. The “+” symbol will be accompanied with pixel coordinates on its right.
- The next step is to drag and draw it as much as you want. Release the mouse to capture the screen. It will be captured in your clipboard and easily accessible to other applications on your MAC.
Saving it to the Desktop
The same process can be done, but this time saving the file on the desktop. To do so, you need to press three keys at the same time.
- Command ⌘ + Shift + 4 or Apple key ⌘ + Shift + 4(for older MACs)
- Drag the + symbol and select the area to be captured.
- Once done, release the mouse. The capturing mechanism will save the document in PNG format on your desktop.
The Third Method — Capturing the App Window
The last major method is to capture the App window of a running application on your MAC. This is quite useful for many users. I also use it for reviewing applications, doing random stuff and creating tutorials.
- To do this, you need to press Command ⌘ + Control + Shift + 4.
- The mouse will change to “+” symbol. Press the space bar and then click on the window you want to capture.
- The image will be captured to the clipboard and you can use it anywhere you want.

Capturing the App Window and Saving the image to Desktop
The above process can be repeated, but this time we will do it to capture it to the desktop.
- Press Command ⌘ + Shift + 4
- Similar to earlier steps, the cursor will transform to “+” symbol.
- Press the spacebar on your keyboard.
- Select the window you want to capture and the screenshot will be captured into your desktop as PNG file.
Wrap Up
We went through three main methods for capturing screen on MAC. With these methods, you are sure to capture the screen shots as you desire. Capturing screen on the MAC is different from capturing screen on windows and if you are using MAC for the first time, it is quite common to get confused.
With this tutorial, you are assured to capture seamless screens for your projects, the web, and personal communication between team and friends. MAC is an amazing machine and works differently with Windows. To make sure that everything works fine, follow the tutorial as it is.
If you fall in problems, comment below and let us know, we will help you get through any problem :). Also, share the article to show some love.
No Comments