


17 Mar Tips for Using Uploader Widgets on WordPress Blogs
Uploader widgets can be a great way to manage and organize the media files on your WordPress blog. It can be a great way to add images and videos to your posts and pages and manage your media library. Uploader widgets can also make it easy to add files to your blog from other websites. Though, using an uploader widget can be a little tricky if you’re not familiar with them.
However, you can start using these widgets like a pro with a little bit of know-how. This article will give tips for using uploader widgets on your WordPress blog.
We’ll cover everything from setting them up to adding files and managing your media library. So, keep reading for the best advice, whether you’re just getting started with uploader widgets or you’re looking for a few more tips.
Table of Contents
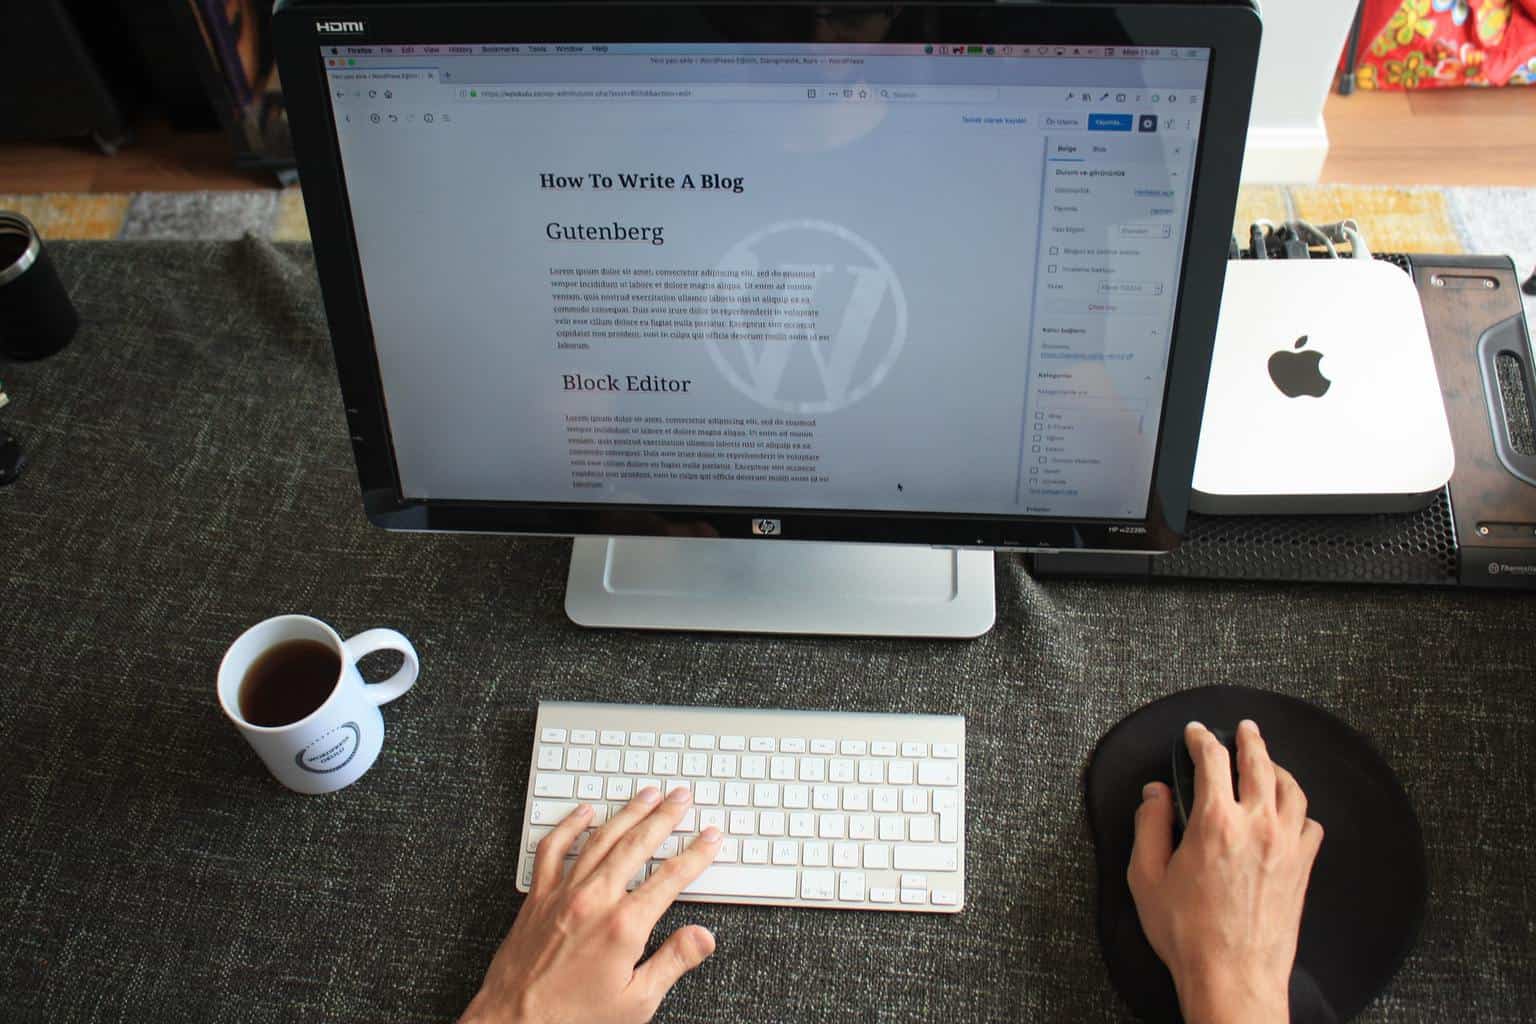
Set Up Your Uploader Widgets
 Uploader widgets make it easy to add files to your blog posts and pages. First, go to the Widgets panel in your WordPress admin area to set them up. Then, drag and drop an Uploader widget into the desired location on your sidebar. It’s best to place it near the top of the sidebar, so your visitors can easily find it.
Once the widget is in place, you’ll need to configure it. The first step is to select the file type you want to upload. WordPress offers a variety of file types, including images, videos, and documents. Next, you’ll need to provide the URL of the file you want to upload. You can type it in directly or use the file picker to select it from your computer.
If you want to limit the number of files that can be uploaded at one time, you can enter a number in the Maximum Files field. Once you’ve finished configuring the widget, click the Save button, and it will be ready to use.
Adding Files to Your Posts and Pages
Now that your Uploader widget is set up adding files to your posts and pages is a breeze. Type the desired file name in with your text, as you would any other word.
The file will automatically be uploaded to your server when you publish your post or page. If you want to add a file to a post or page that’s already been published, you can do so by using a file uploader or by adding the file as a link. Locate the file you want to upload and click the Upload button.
The file will be added to the post or page and available for download by your visitors. That’s all there is to it! With Uploader widgets, adding files to your blog is a breeze. So why not give them a try?
Choose the Right Uploader Widget
 There are many different types of uploader widgets to choose from. It’s important to select the one that will best suit your needs. If you need a widget that can handle many file types, you should consider using an advanced uploader widget.
There are many different types of file upload widgets to choose from. It’s important to select the one that will best suit your needs. If you need a widget that can handle many file types, you should consider using an advanced uploader widget.
It’s also important to choose a widget that is easy to use. If you’re not comfortable using a certain type of widget, you should avoid using it.
Add Widgets to the Sidebar and Footer on WordPress
Adding a widget to your WordPress blog is an easy way to improve the usability and appearance of your blog. Widgets are small pieces of code that can be added to various locations on your blog, such as the sidebar or footer, to display content from other sources, like other blogs or social media sites.
It can be a great way to add extra functionality or keep your blog looking fresh. This article will show you how to add widgets to your WordPress blog.
To add a widget to your blog, go to the Widgets page in the WordPress dashboard. The Widgets page can be accessed by going to Appearance>Widgets in the main menu of your WordPress dashboard. The Widgets page contains a list of all the widgets currently available for your blog. To add a widget to your blog, click on the widget you want to add and drag it to the location on your blog where you want it to appear.
There are a variety of widgets available for you to add to your blog, including text widgets, RSS feeds, social media buttons, and more. Widgets can be added to your blog’s sidebar, footer, or header. For example, if you want to add a text widget to your sidebar, click on the Text widget and drag it to the sidebar. You can also show or hide certain widgets based on your needs.
Use the WordPress Customizer to Add Widgets
 You can use the WordPress Customizer to add widgets to your blog. To do this, open the Customizer and go to the Widgets panel.
You can drag and drop widgets into the desired locations on your blog’s sidebar. It’s also easy to add new widgets to your blog by clicking the ‘Add a Widget’ button. This will open a new window where you can browse for the widget you want to add.
Make Sure You Have the Correct Permissions to Upload Files to the Server
Most servers have default permissions that do not allow users to upload files. If you are getting an error message such as “You don’t have permission to access /wp-content/uploads/ on this server,” you need to contact your hosting provider and ask them to set the correct permissions for you.
Most servers have default permissions that do not allow users to upload files. If you are getting an error message such as “You don’t have permission to access /wp-content/uploads/ on this server,” you need to contact your hosting provider and ask them to set the correct permissions for you.
Be Aware of the File Size Limits for Your Server
 What are the file size limits for your server? When you’re using an uploader widget on your WordPress blog, it’s important to be aware of the file size limits for your server. Most servers have a limit of around 2MB per file, so if you’re trying to upload a file that’s larger than that, you’ll likely run into an error.
To avoid this, you can either adjust your file size or find a different server with a higher limit. This is especially important to keep in mind if you’re using an image as your upload file, as they can often be quite large.
Test Your Uploads in a Staging Environment Before Publishing Them on Your Live Blog
When you’re working with a new or updated uploader widget, it’s always good to test your changes in a staging environment before pushing them live. If there are any issues with the widget, you can fix them before they affect your blog’s visitors. It’s also a good way to check that your uploads are displaying correctly.
When you’re working with a new or updated uploader widget, it’s always good to test your changes in a staging environment before pushing them live. It’s also a good way to check that your uploads are displaying correctly. If there are any issues with the widget, you can fix them before they affect your blog’s visitors.
Use Descriptive Titles and Tags for Your Files to Help Your Readers Find Them
When adding files to your blog, be sure to use descriptive titles and tags. This will help your readers find the files they are looking for, and it will also make it easier for search engines to index your content.
It is also good to include keywords in your file names and titles, as this can help you rank higher in search engine results pages. This is especially important if you are using images for your blog posts.
Use the Correct File Format for Your Files
Before uploading files to your WordPress blog, make sure that they are in the correct file format. For example, if you’re uploading a photo, make sure it is in JPEG or PNG format. It’s also a good idea to keep the file size as small as possible so that it loads quickly for your readers.
Keep in mind that if the file is too small, it may not look very good when displayed on your blog. However, WordPress does offer some helpful tips for optimizing your images.
Be Sure to Backup Your Files Periodically
 One of the great things about using uploader widgets on your WordPress blog is that you can easily add images, videos, and other files to your posts and pages. However, before you start uploading lots of files, set up a backup plan in case something goes wrong.
It’s always a good idea to have backups of your files, just in case you need to restore them or access them offline. This is especially important if you’re using files that are important to your business or website.
Conclusion
In conclusion, using uploader widgets on your WordPress blog can be a great way to improve the user experience and make it easier for your visitors to upload content. By following the tips in this article, you can make sure that your widget is easy to use and provides a good user experience.
In addition, be sure to keep your widget up-to-date with the latest version of WordPress, as this can help ensure that it functions properly. Finally, test your widget before publishing it on your blog to ensure that everything is working correctly.
No Comments