

26 Aug How to Create an eBook for Free from your Blog Posts
Beacon Marketing eBooks is not just another WordPress plugin that you should ignore.
It is worth picking up for your blog and has the potential to become a must have plugins for any blog that want to reach their audience and elevate the marketing stats.
Released just a few days back, the plugin offers tons of features. But the one that really stands out today is the ability to create an ebook for free. All you need to do is install the plugin and woosh it’s done.
Well, I hope it was that simple. It is simple, but not simpler. Today, I will go forward and show you a simple tutorial on how to create an ebook for free from your blog post. During the tutorial, I will showcase an example of building an ebook and how you can use it on your blog.
Before, I start, I want to provide a glimpse of what the plugin is capable and its other features.
Table of Contents
Beacon Marketing eBooks
Beacon Marketing eBooks is all about creating great eBooks for your marketing needs. Great marketers work around the clock to create amazing content for their users.
Repurposing content is not a new thing, but it takes a lot of time to bring all the blog post, handle images, change typography, add hotlinks, and you get the picture. It is a long process, and it takes time, even for the veterans.
Beacon Marketing eBooks plugin for WordPress is released for this sole purpose. To bring down the time for eBook creation into half or less time. If you are planning to add new material to the eBook, then the time varies accordingly.
But, if you are creating a simple eBook only containing past published/non-published blog post, you can get an eBook in just 10 minutes.
What really happened here? Automation is the answer. Due to the automation, you can actually convert your powerful blog posts into eBooks for the audience. For example, you can create an eBook composed of your best How-To tutorials on your blog. Furthermore, you can name it “The ultimate How-To’s from XYZ” and then use the widget or social media sharing capability to get more leads for your blog.
Visitors love content and when they see a condensed version of the content, like an eBook, they there is more chances that we will convert into a lead and share their email with your business.
In the end, it’s you who win. Now, let’s move to the tutorial.
How to create an ebook for free from your blog post
Creating an eBook with the help of the Beacon plugin is easy and intuitive.
Installing the plugin
The first step is to grab the plugin from the official page and install it. There are two ways you can install the plugin.
The first way is to download the plugin from the official repository page. After you download the plugin, move to Plugins > Installed Plugins > Add New > Upload plugin.
After the upload is complete, press install now to complete the installation. The last step is to activate the plugin.
The 2nd process is to install the plugin by using the inbuilt plugin search. Both the ways are safe, and you can choose any one of the process.
The Actual Steps
Now, let’s get into the real process of creating a free ebook from your blog post.
1. After the plugin installation is complete, the “beacon” menu option will appear on the left admin menu. This will enable you to access the plugin directly from the admin panel.
2. To open the beacon plugin main screen, go to the admin menu and select Beacon > Beacon.
3. Once you are inside the Beacon plugin, you will be treated with the welcome screen.
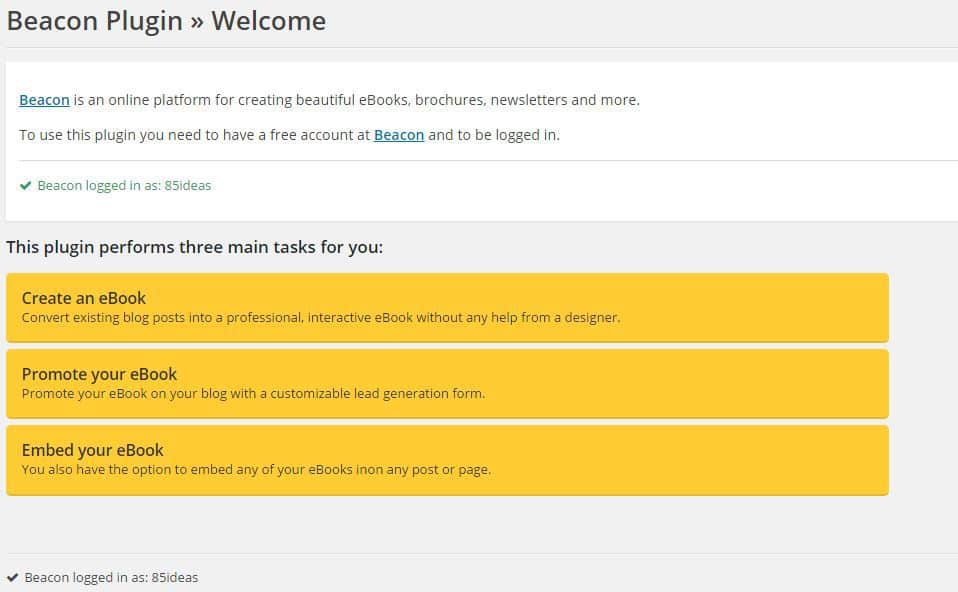 4. As you can see, I am logged in. Logging into the Beacon account is necessary as it keeps all your settings, publications, Ebooks at one place. Don’t worry, you don’t have to pay anything to create an account.
5. Just go to the Beacon welcome page and create a free account by clicking “Create Account”.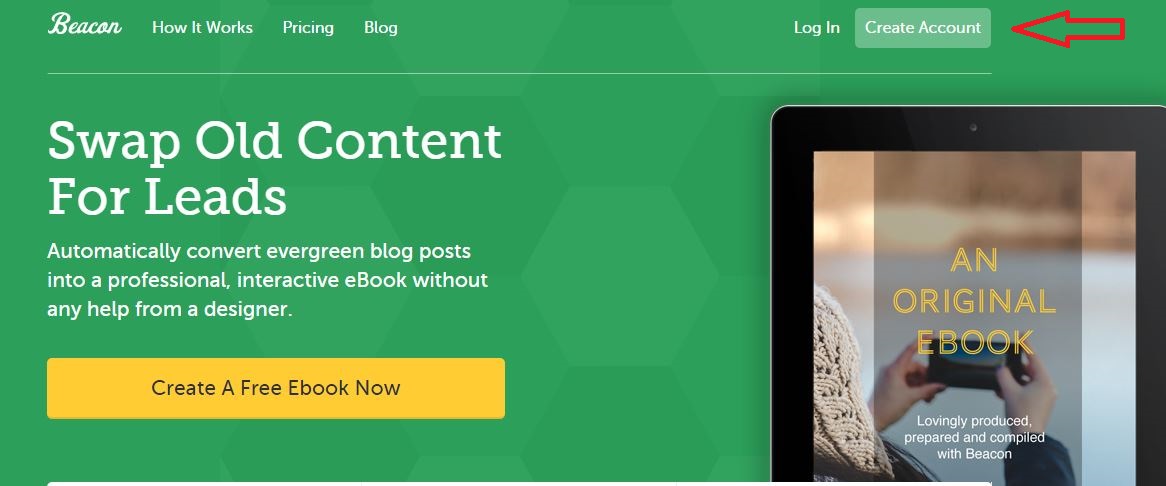
6. Creating an account is easy. After you have created the account, login to your account and now the plugin will work instantly from your dashboard. You have the choice to work from their official website dashboard or go to your website dashboard to start creating a free ebook. Both ways, the process is same and that’s why I will showcase creating a free ebook from their official website.
7. You will be treated with a welcome message.![]()
8. As you can see in the above image, there is a simple yellow button, “Create Publication”.
9. When you click on that button, it will pop up a new window.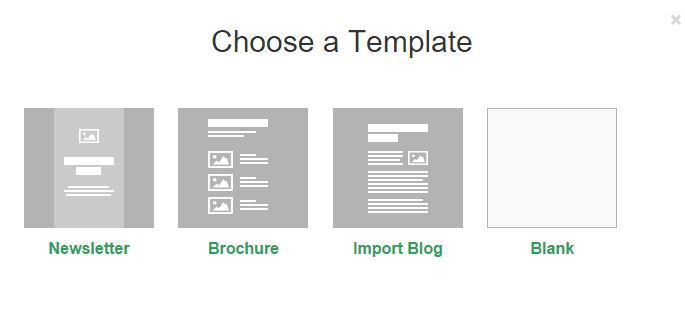
10. For now, we will choose the option “import blog”. I will explain the rest three options later on. The “Newsletter”, “Brochure” and “Blank”.
11. After you select the “import blog option”, it will ask for your website or blog URL.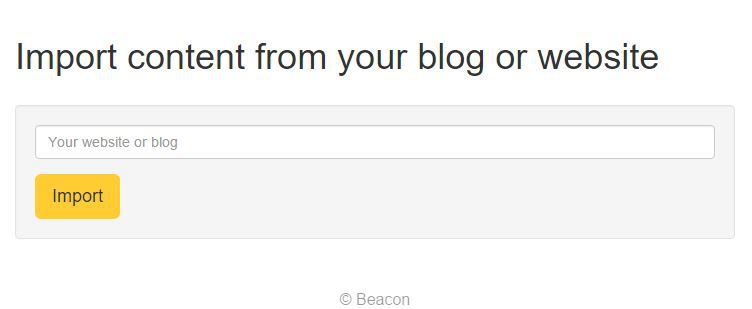
12. Let’s put 85Ideas URL into the box.
13. After processing the request for few seconds, it will return the fresh blog posts into your feed. If you want to see all your blog posts, you can work from the website dashboard. Currently, the official website backend only supports fetching the latest blog post. The end result is 11 latest blog posts in my feed.
14. I will select the first five blog posts that are published in the last week or so. If you want, you can also select all the blog posts with a single click on “Select All” button. Similarly, you can clear all your selection with the help of the “Clear All” button.

15. Now, it’s time to do some magic. Proceed to the next step by clicking on the “Preview eBook” button under “Finished?” tag. All your selected blog posts will be processed, and you will now enter an extremely customizable wizard that will help you to do some editing and publish the changes.
Making Changes in the eBook
Until now, it was easy. Just a few clicks and you are now on the verge of creating a fully-furnished eBook now. Taking from here depends on how you make changes to the ebook. I will make some changes, and you can follow along. I will also try to use all the available options so that you don’t feel alone when you see an option not mentioned by me. So, why wait?
You will get access to five major tabs in the wizard. You can jump between them or follow the wizard for an optimal experience. The five major tabs available are Pages, Content, Layout, Colors, and Fonts.
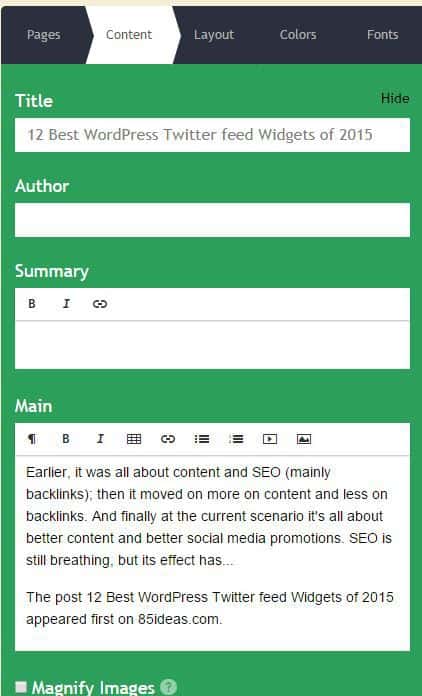
The Content Tab
You will see the following screen. Let’s explain the terms one by one.
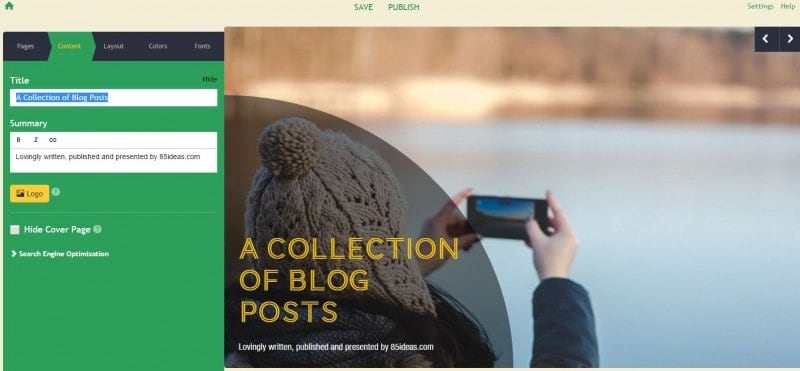
- Title: It contains the title of the ebook. Change it whatever you want it to be.
- Summary: Summary is the content that comes below the Title. It hints the user on what the eBook contains.
- Logo: You can add a logo to your cover page. Just upload it from your computer and you are done with it.
There is also an option to hide cover page. A tick mark and its gone.
Search Engine Optimization (Publishing on the web) — optional
If you are serious about reaching the right audience, you have to make SEO work. The good news is that it comes with all the necessary meta fields for your on-page SEO techniques to work.
The following fields are available.
Meta Title: Meta Title is how Google will tell its search engine to see the eBook on the search results. It is a vital part of SEO optimization and should not be ignored.
Meta URL: Meta URL is used to set different title that the eBook main page title. Extremely useful if you are going to target different keywords.
Meta Description: Meta Description is a short description of the eBook. Vital for both human readers as well as the search engine.
Meta Keywords: Meta Keywords are the main keywords you are targetting. You can use comma to separate different keywords.
Moving On…
Layout Tab
Layout tab takes care of the all the layout configuration for each page on the eBook. It starts with the cover page and you can change the settings for each page of the eBook.
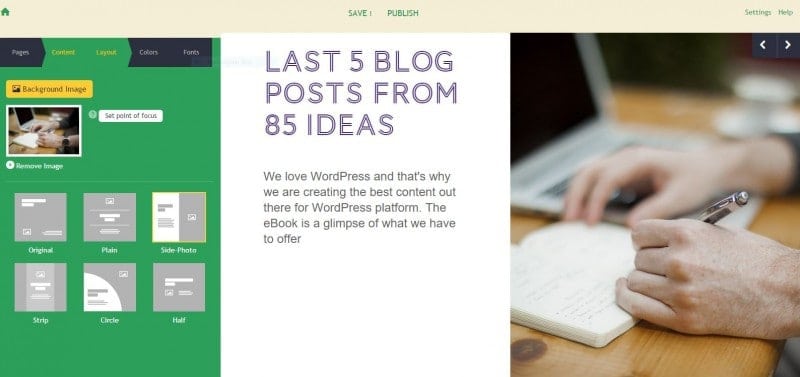
As you can see a live result is shown on the right, providing you with the flexibility of experimentation with the design layout.
You can change the background Image by a simple click of the button. You can opt to upload an image from your machine or choose any image from their image library. Each page can be set with different images of your choice.
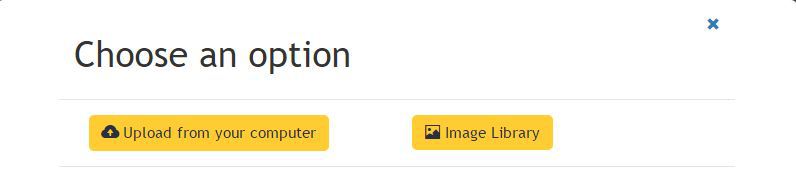
Once you click on the “Image Library” button, you will get access to hundreds of photos for your eBook creation.
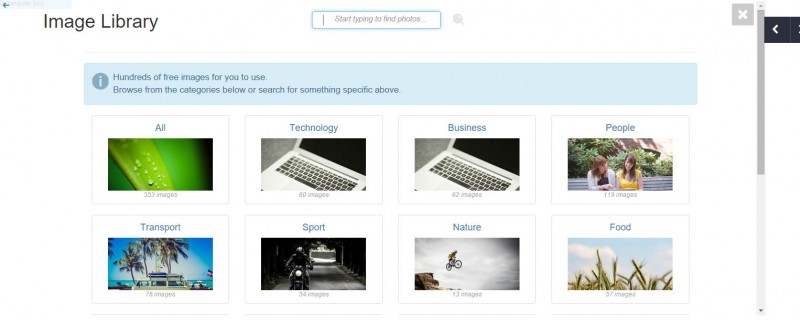
You can also choose to set point of focus to change how the image behaves.
The Available Layouts
Currently, six layouts are offered by the platform. They are plain, large photo, cube, full-fixed, side photo and half.
Let’s go through them.
Plain: This is the simplest layout you can use. It has a full page background image and the text centered. A very simplistic approach.
Large Photo: Large photo is similar to the plain layout, but the background image is stuck to the top of the page rather than a full background. The layout is great for text clarity.
Cube: Cube relies on rendering information in a cube-based layout.
Full-Fixed: Full-fixed is similar to the plain layout, but has much better text clarity than plain. It also offers full background image and text clarity.
Side-Photo: Side-Photo is one of my favorite. The content is set to the left side, whereas the photo is set to the right.
Half: Half is similar to Side-Photo, but with only one major difference, the background image is full.
Colors Tab
Colors tabs offer 24 color schemes. You can try them and choose the best color scheme that suits your content and the background image.
Fonts Tab
The Fonts Tab takes care of the typography of your content. With 13 typography choices, you can easily make changes in your content.
Pages Tab
This page contains all the pages that are present within the eBook. You can delete pages, add new pages and click on each single page and edit them accordingly.

Pages Tab
When you click on a single page, you will get the following options to change. All the options are self-explanatory.
You can hide title, add the author of the article/blog post and add summary accordingly.
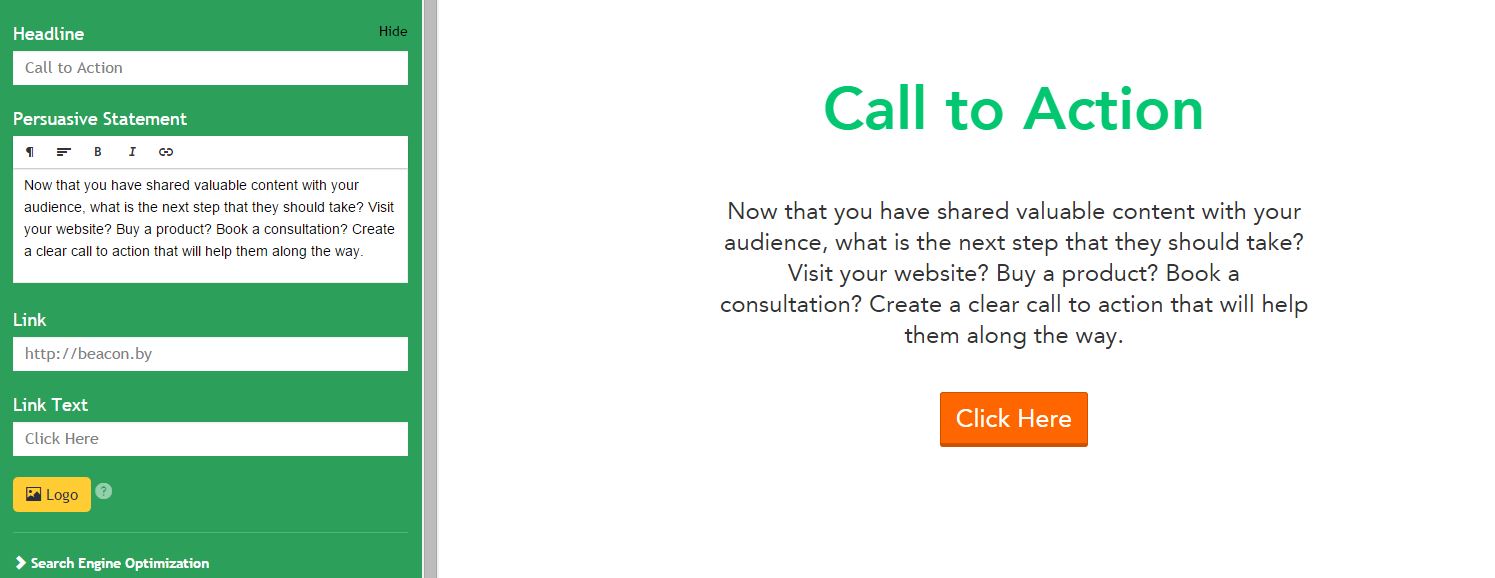
The pages also contain an important part, the “Call to Action”.
Call to Action is important for diverting readers to take the next step? For example, you can offer them free hosting or tell them to visit you new blog. The choice is all yours.
Publishing
With all the customization and editing done, the last step is to publish the PDF. It can easily be done with the help of the publish button at the top.
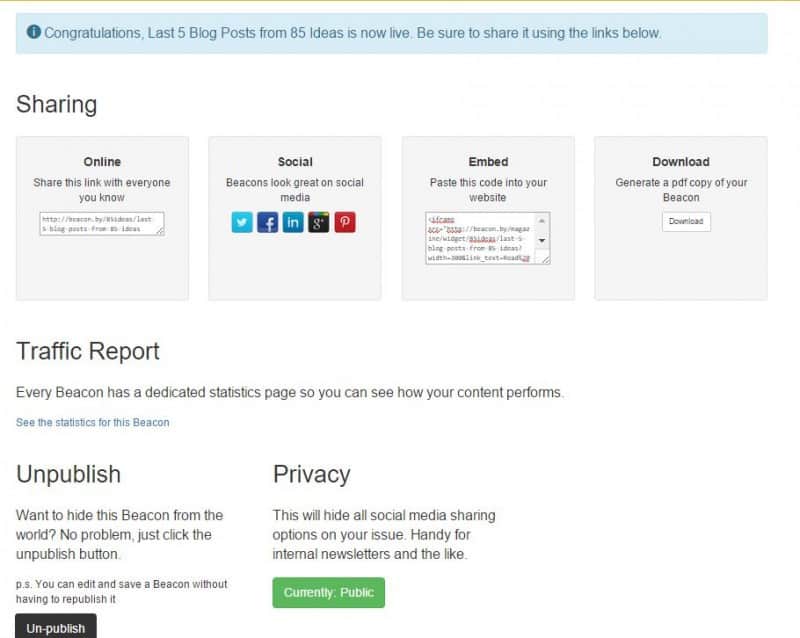
After you publish, it will provide you links to share with your social media. It will also give a widget link which you can use to embed the eBook into your website.
You can also download the PDF copy and distribute among your email subscribers. Make sure that before you distribute it, it actually fits the current PDF accessibility practices.
Furthermore, it offers traffic report on the performance of the eBook. You can also unpublish the PDF easily.
And, we are done with the tutorial.
Wrap Up
Creating ebooks was never been this easy. If you try to do it manually it will easily take 15x more effort and time. With the help of the Beacon Marketing ebooks plugin, I was able to create an eBook in 5 mins. Moreover, the amount of control it offered is quite outstanding.
I tried to go through each step and also describe all the key terms for the guide. But, if you are stuck, you can comment below and I will solve the issues.
Loved the tutorial? Share it with your peers.
No Comments