

02 Nov WordPress for Beginners: How to Create a Gaming Website Using WordPress
Are you passionate about gaming and want to share your knowledge with the world? What better way than starting your gaming website using WordPress. Thankfully, WordPress is user-friendly, so you don’t need to write code to create your gaming website.
In this short guide, we will outline the critical steps in building your website. While it might not have all the same features as a more established gaming platform, you can easily create a stylish and functional website with no prior knowledge.
Table of Contents
1. What Kind of Gaming Website Do You Want to Build?
 First things first, what kind of website do you want to create? Are you going to write reviews of the latest video games or write about gaming gear? Or do you want to start a new gaming forum for like-minded members to discuss their favorite games?
Whatever you have in mind, it helps to have a goal in mind before you start. No matter what type of site you are going to build, the basic steps are the same. So, read on to get started.
2. Buy a Domain Name
The domain name is what visitors to your website have to type into their internet browser to reach your site. All websites have them, but coming up with a good one can be challenging. It should be both memorable and related to the content of your website.
Not only that, but it also has to be available to buy, which essentially means it can’t already be in use by another website. You can search for and purchase available domain names using sites such as GoDaddy, NameCheap, and Bluehost.
3. Find a Web Host
 You’ll also need to find a suitable and reliable host; without one, no one will be able to find your new website. To do this, you will rent space on a server from a company such as HostGator, DreamHost, and Bluehost. Some hosts will offer discounted packages with hosting and a domain name included, which is perfect for those new to building a website.
Even if you have already bought your domain elsewhere, you’ll probably find your host will offer different packages, so you can find the one which best suits your needs. Hosting services vary in price, so be sure to compare features and find one that fits your budget. Don’t be put off at this stage; even if you are starting small, you’ll be able to find hosting for just a few dollars per month.
4. Install WordPress and Pick a Theme
There are two different versions of WordPress, and you will need to understand the difference between them and choose the correct one. WordPress.com is a blog-hosting platform. On the other hand, WordPress.org is self-hosted and is probably the one you will want to use.
By using WordPress.org, you can access more features and better tailor your new gaming website to your needs. You’ll have more freedom when building your website, whereas, on WordPress.com, you will be more limited in what you can create.
5. Customize Your Site With a Theme
Now comes the fun part, making your new website your very own. You’ll be able to choose one of the thousands of WordPress themes to give your site the right aesthetics and functions. But, you don’t just choose the first theme you come across.
By searching for specific gaming themes, you’ll find more of the functions, and features you need are built-in, so you don’t have to add them yourself. Some of the most popular gaming themes include Youplay, PlayerX, and Game Addict.
6. Find the Right Plugins
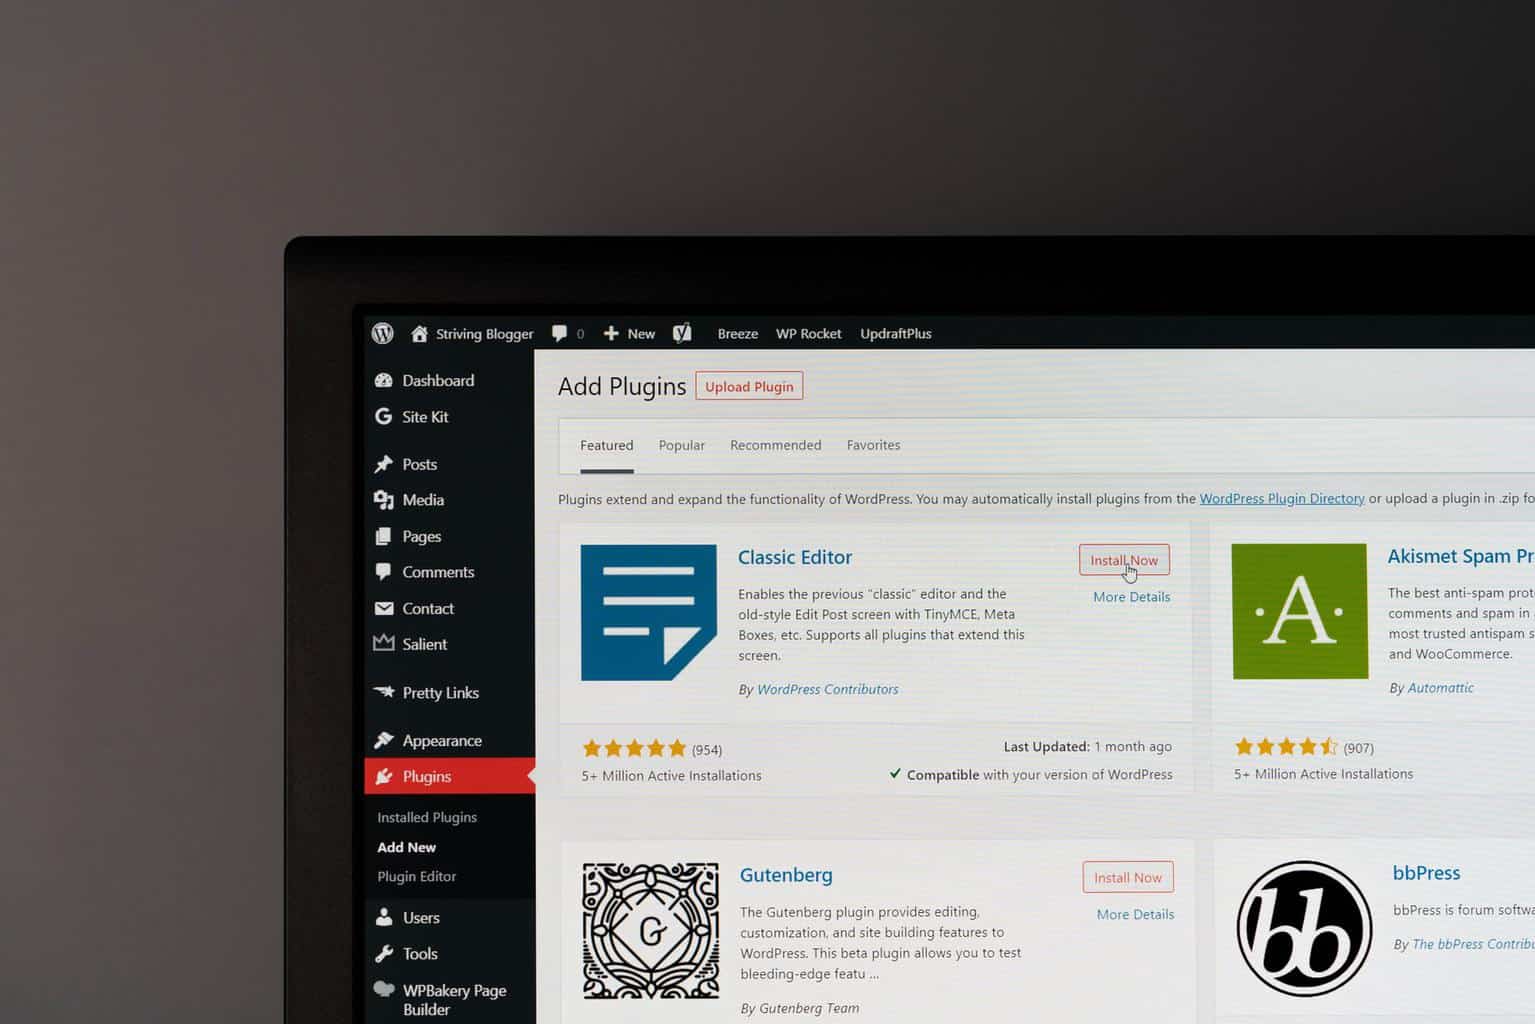 Not only are there thousands of themes to choose from, but there are also thousands of plugins available to WordPress users. You’ll need to think about what you want visitors to your site to do and choose plugins accordingly.
You’ll also require plugins to make your website safe and secure for visitors. Other options you might like to include are game reviews, Twitch streaming, selling games, and gaming accessories, or even small games visitors can play on your website.
7. Get an SSL Certificate
When you get your hosting, check whether or not this is included. You’ll need an SSL certificate if you want to do things like live streaming or selling items on your website.
Essentially, this digital certificate proves the connection is secure and encrypted and shows your website’s authentic identity.
8. Start Creating Content for Your Website
 After getting everything in place to get your website live, you’ll still need to write some content for it. Whether it’s the homepage or blog posts, you’ll need at least a couple of pages before your site goes live. It can help to write a plan showing the structure of the main pages and the type of information you’d like to include.
For example, you might want to choose a few main sections for your website, then add some sub-categories under these, depending on the type of website you are creating. Remember, an eye-catching homepage will encourage those landing on your site to stay and visit other pages while interacting with your content.
So, it’s worth spending some time making sure you have all the information you need so that your visitors can easily see it. Depending on the type of website you’ve built, you might also like to add an about us page, contact details, and some terms and conditions.
9. Grow Your Website Using SEO Techniques
 Now that you have everything up and running, you need to ensure people can find you, which is where SEO comes in! By getting your website to the top of the search engine results, you’ll provide more and more people visit your site.
You can also use programs such as Google Analytics to find trends to see where your customers are coming from, the type of device they are using, and how much they are engaging with your content. It will help you to improve particular parts of your website that might be putting visitors off.
No Comments