

15 Jun Four Ways to Optimize Images in 2021 to Increase Loading Speed and Retain Visitors
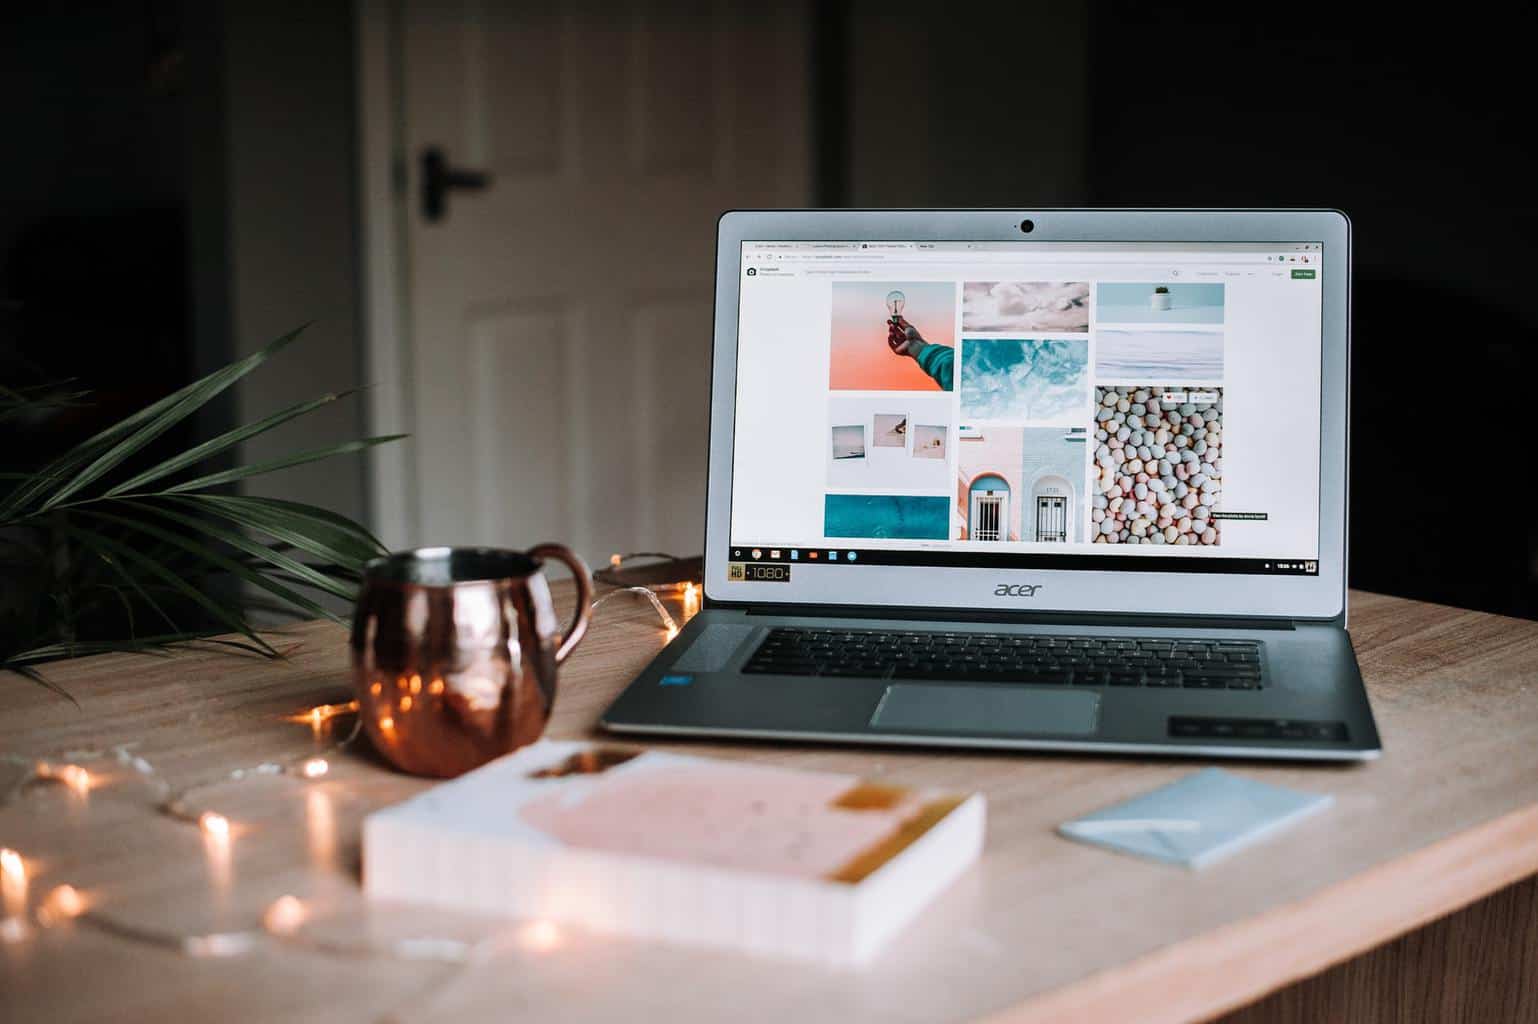
Have you ever wondered why some sites are extra slow? Like, it feels a lifetime has passed until it loads the text and images. Well, that’s because they probably didn’t optimize the pictures the way they should. Optimizing your images is the crucial ingredient for great web performances.
But why is that so important? As we said, if you don’t do that, your site won’t load fast as it should, and you know who doesn’t like that? Your visitors!
 If your site takes more than 3 seconds to load, your visitors will leave. In today’s age, there is no reason for your site to be that slow! The other thing you should take into account is SEO.
Yup, search engines consider a website’s loading speed. Who would suggest a slow site? No one, not even Google. Also, it is no secret that that’s the most popular way towards organic traffic – via search engines.
Now that we explained that let us show you the best ways to optimize your images.
1.WP Compress – Image Optimizer [All-In-One]
![WP Compress - Image Optimizer [All-In-One]](https://85ideas.com/wp-content/uploads/2021/06/wp-compress.png) First on our list is a tool that will help you with your image optimization in no time – WP Compress- Image Optimizer [All-In-One]. The unique thing about a tool like this is that it gives you the freedom to optimize your photos in real-time or locally, which provides your visitors with a better user experience and faster loading time, decreasing the bounce rates drastically.
First on our list is a tool that will help you with your image optimization in no time – WP Compress- Image Optimizer [All-In-One]. The unique thing about a tool like this is that it gives you the freedom to optimize your photos in real-time or locally, which provides your visitors with a better user experience and faster loading time, decreasing the bounce rates drastically.
With that, you will give your website the ability to create the best image based on the visitor’s browser, device, location on the page, screen resolution, and geolocation.
With the credits, you will be able to compress media library images, generate WebP images, and the most fun part – bulk resize images. There is no reason for you to do it one by one for every picture when you can do them all at once.
Besides, with local optimization, you will also save storage space with your host, and switching between real-time optimization and local is a piece of cake. So, don’t worry that you won’t be able to change it.
Moreover, after you set up WP Compress – Image Optimizer [All-In-One], the only thing to do is link your website, and you are good to go with real-time optimization. If you are more of a fan of local optimization, no worries, you can configure auto-optimization with a single click.
WP Compress – Image Optimizer [All-In-One] is also a great plus for agencies because it controls assigning credits, managing linked websites, and creating excellent brand reports. So, if you need to create brand reports, why not make them extra special with this one?
2. Choose the Right Format
Not so many people know that digital pictures come in different formats. Users that are already dubbed into let’s say, photoshop know that, but regular folks, not so much. The three most used ones are JPEG, GIF, AND PNG.
PNG will give you the highest quality images, but with that also comes a larger file size. With JPEG, you can adjust the quality level to have a good balance of size and quality.
Furthermore, GIF is most commonly used for animated images and has only 256 colors. So if you want to put an animated picture in your article, go with this file type.
3. Quality VS. Size
 The most significant debate that you can have is quality vs. size. If you use a low compression rate to give you the best quality for your picture, it will still be pretty heavy for your site. It’s like saying you won’t eat the whole cake because it’s too much sugar, then eating 80% of it.
On the other hand, if you use a very high compression rate, it will give you subpar quality while providing a very light file.
So, the best option here is to go with a medium range. Use a medium compression rate, which will give you good quality, and the size of the file will be acceptable for an HQ picture.
4. SVG Files
![]() One more recommendation is to use SVG files. Even though WordPress is not there yet with the SVG files, you can still use them for logos, icons, candid photos, and text.
One more recommendation is to use SVG files. Even though WordPress is not there yet with the SVG files, you can still use them for logos, icons, candid photos, and text.
Moreover, you can scale these files in photo editing tools and browsers, and trust us; your graphic designers will be glad you chose them! Also, Google indexes SVGs, so you do not need to worry about harming your SEO game. Plus, they usually come in smaller file sizes – and you are here for that!
Also, here are some cool tricks that you can use:
- Using vector images when you have the opportunity
- When saving, always use the precise dimension
- For the favicon, it would be great if you can use the .ico file format
- If using images with lots of details and shapes, use raster photos
- Whenever possible, save your picture as “optimized for the web”
Conclusion
In the end, pictures are a big part of any site, no matter what it is about. There is a picture to go with any text, and if you do not take care of those photos, your site will be in a slow-mo version.
So, take care of the graphics on your site. They are as much as important as everything else, which is why we have provided you with some tips and tricks that you can follow.
Sourav Halder
Posted at 07:31h, 22 JuneVery informative article!!! I like this website so much it’s really awesome.
J Barman
Posted at 07:36h, 22 JuneWow, every detail is absolute perfection! Love it!